1. Open the Workflows in Cheerio
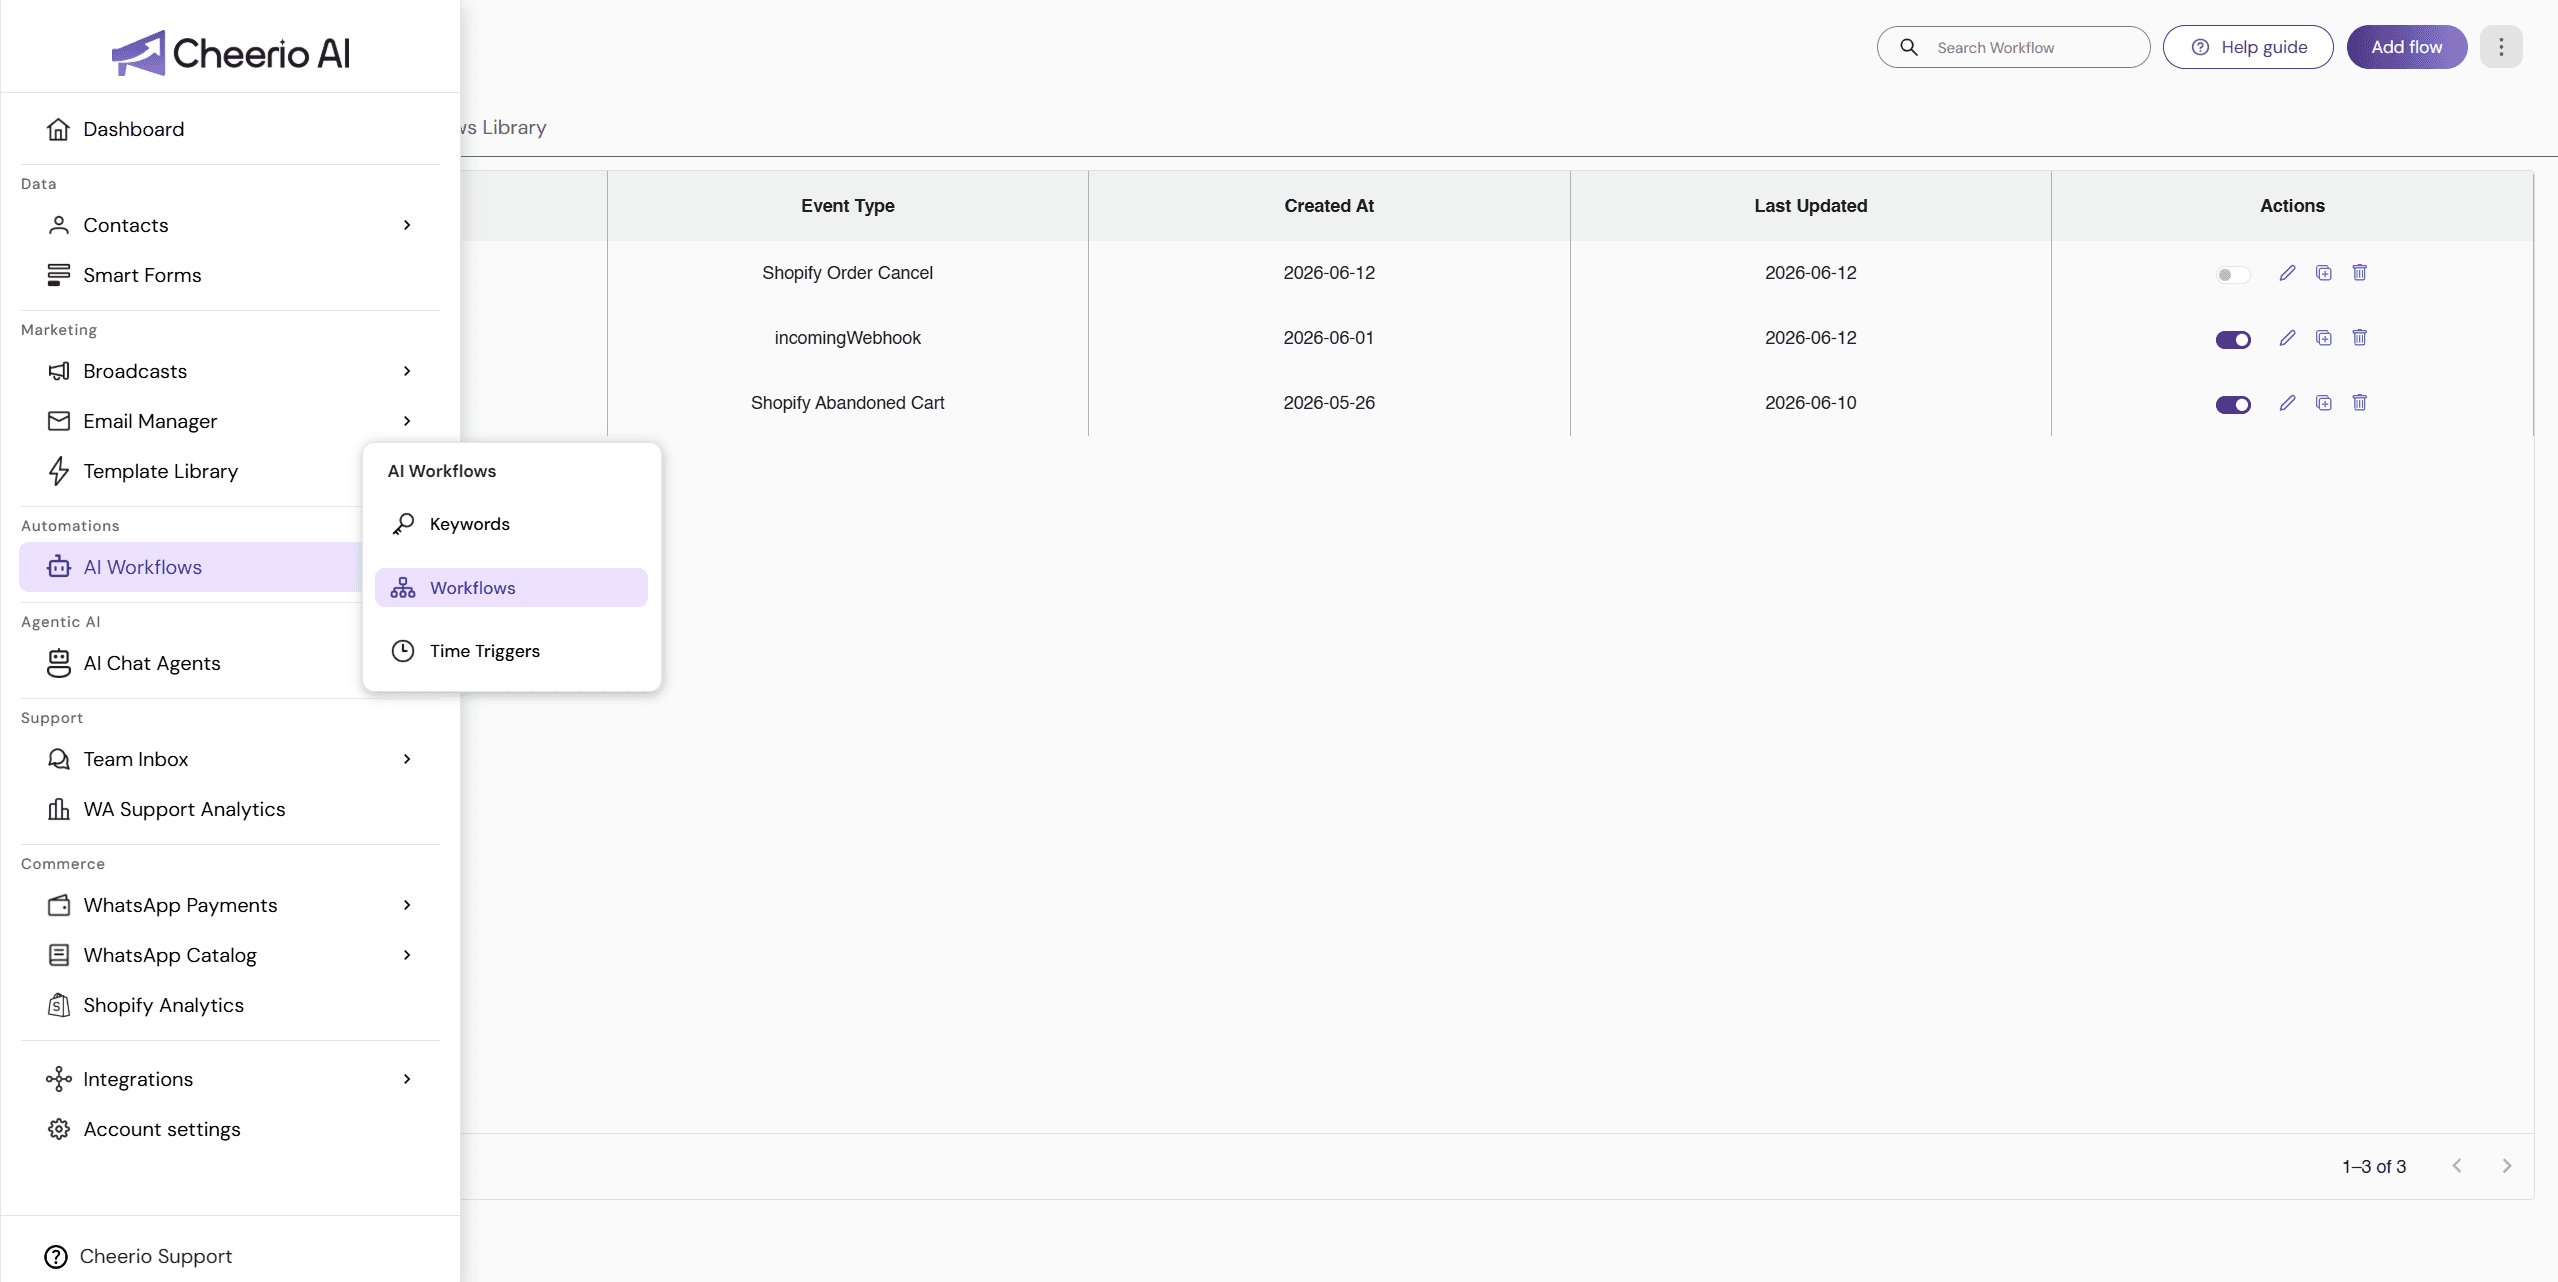
In Cheerio, go to the navigation bar.
Under AI Workflows, click Workflows.
Select Add Flow to start creating a new automation.
2. Make sure Shopify is connected first
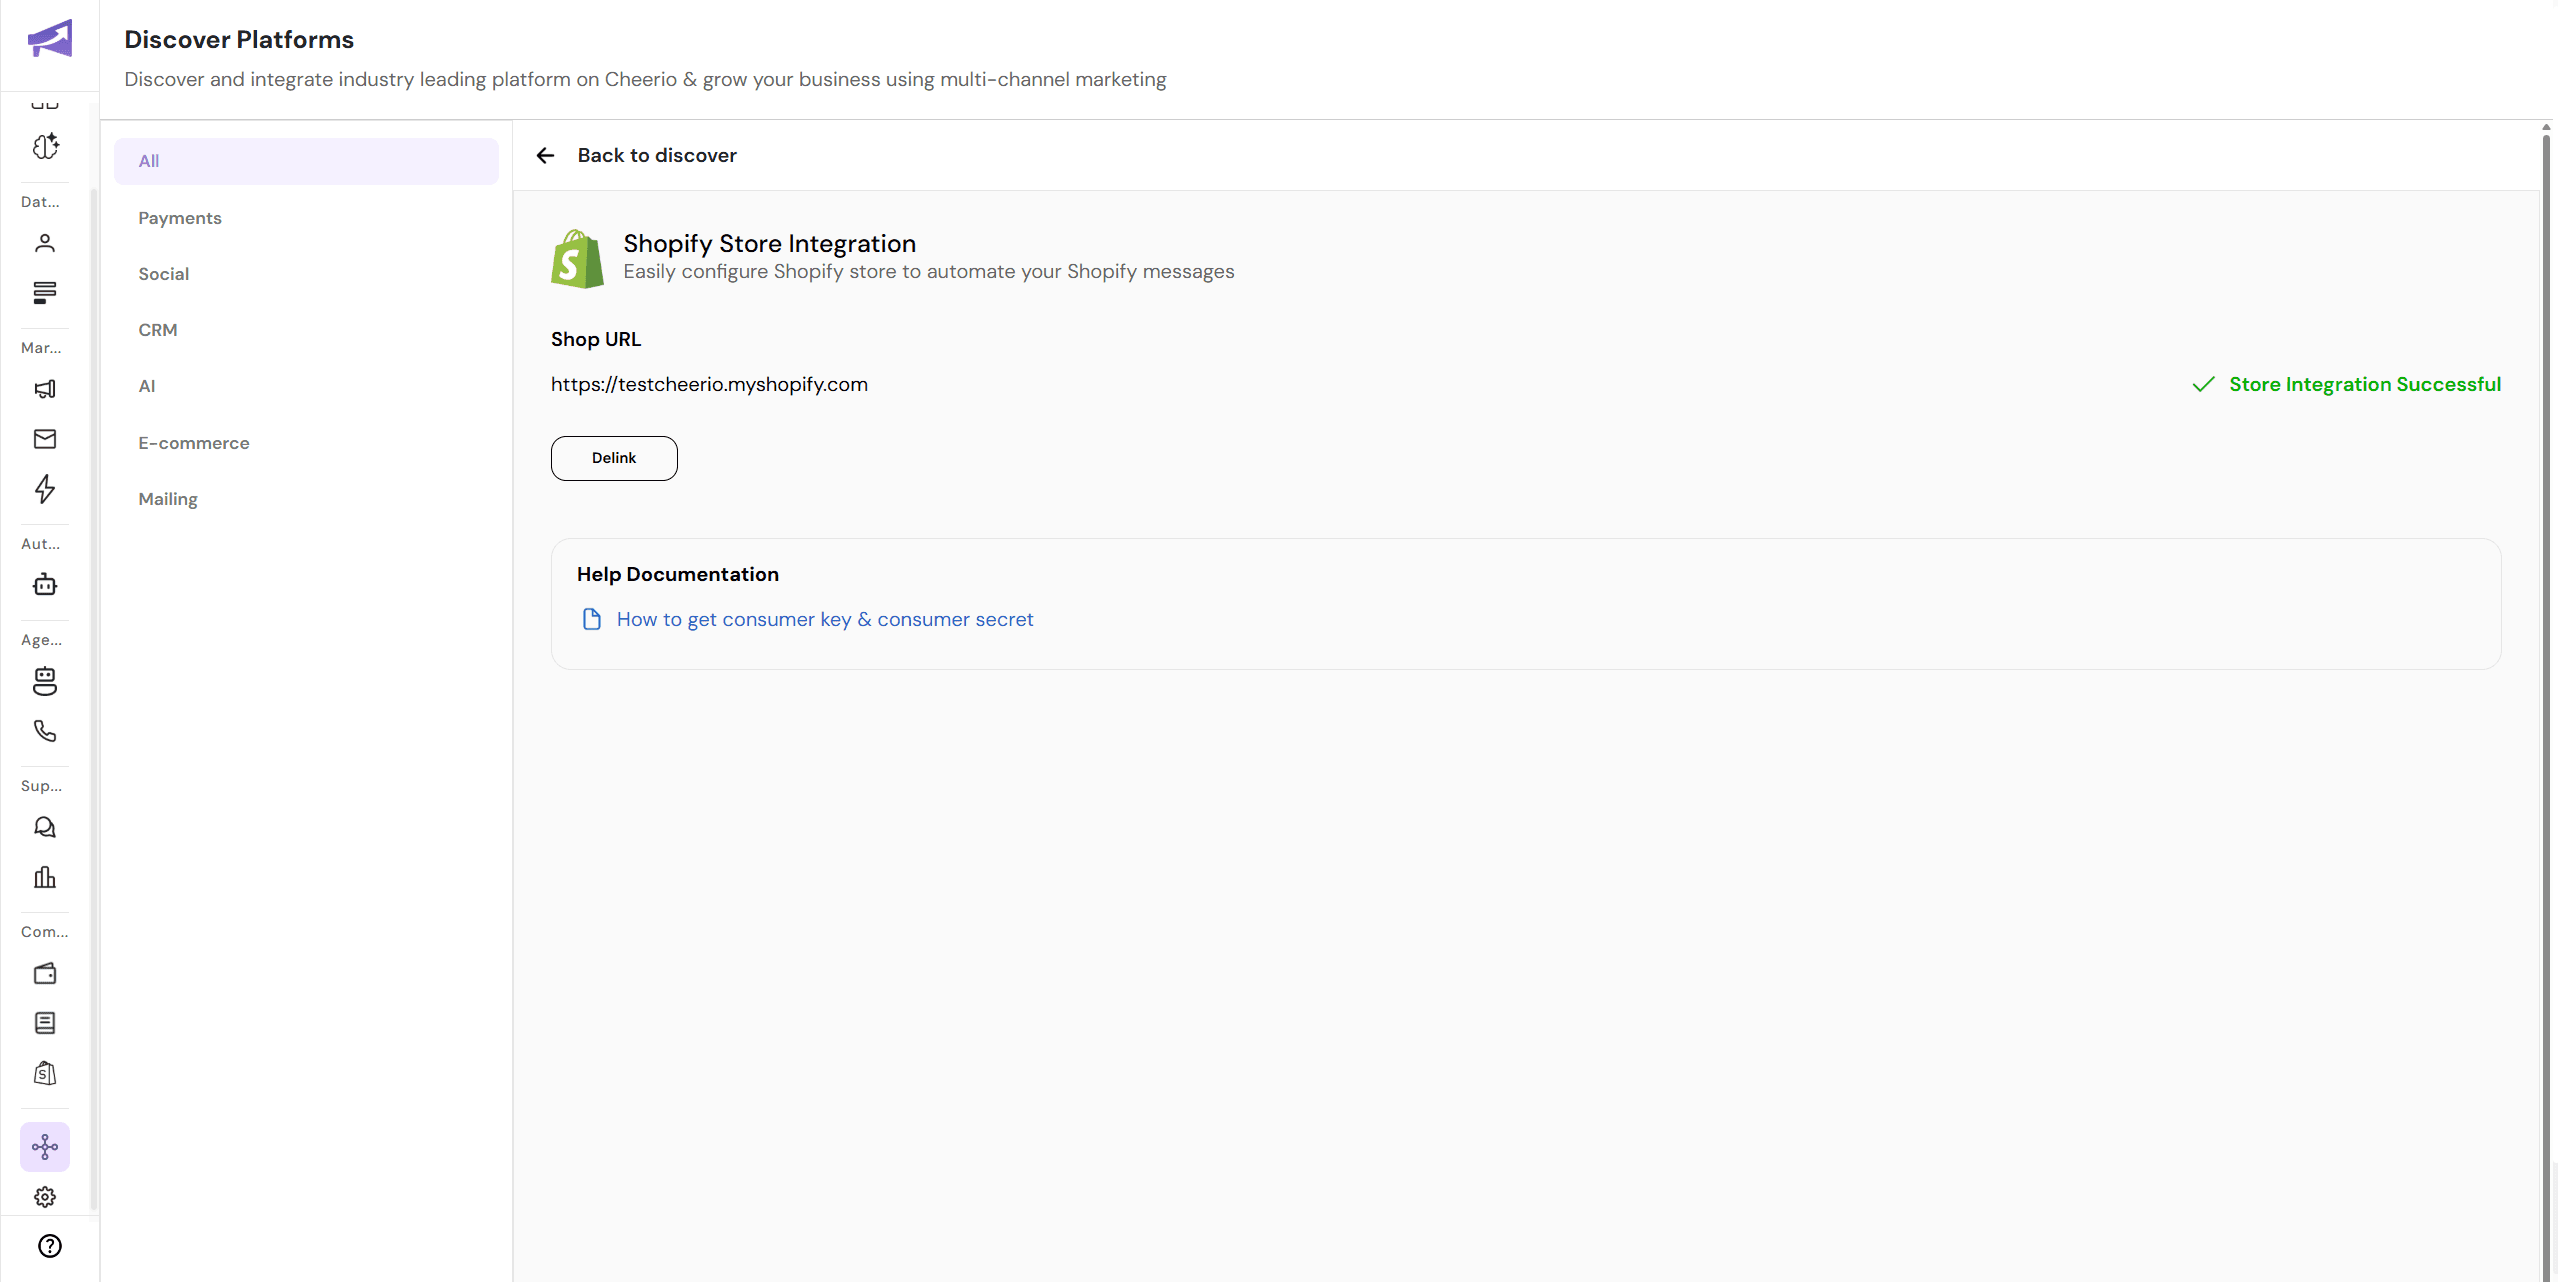
Before Shopify events will appear, your Shopify account must be connected to Chirio.
If Shopify is not fully configured, you won’t be able to access Shopify trigger events in the platform.
3. Choose a Shopify trigger event
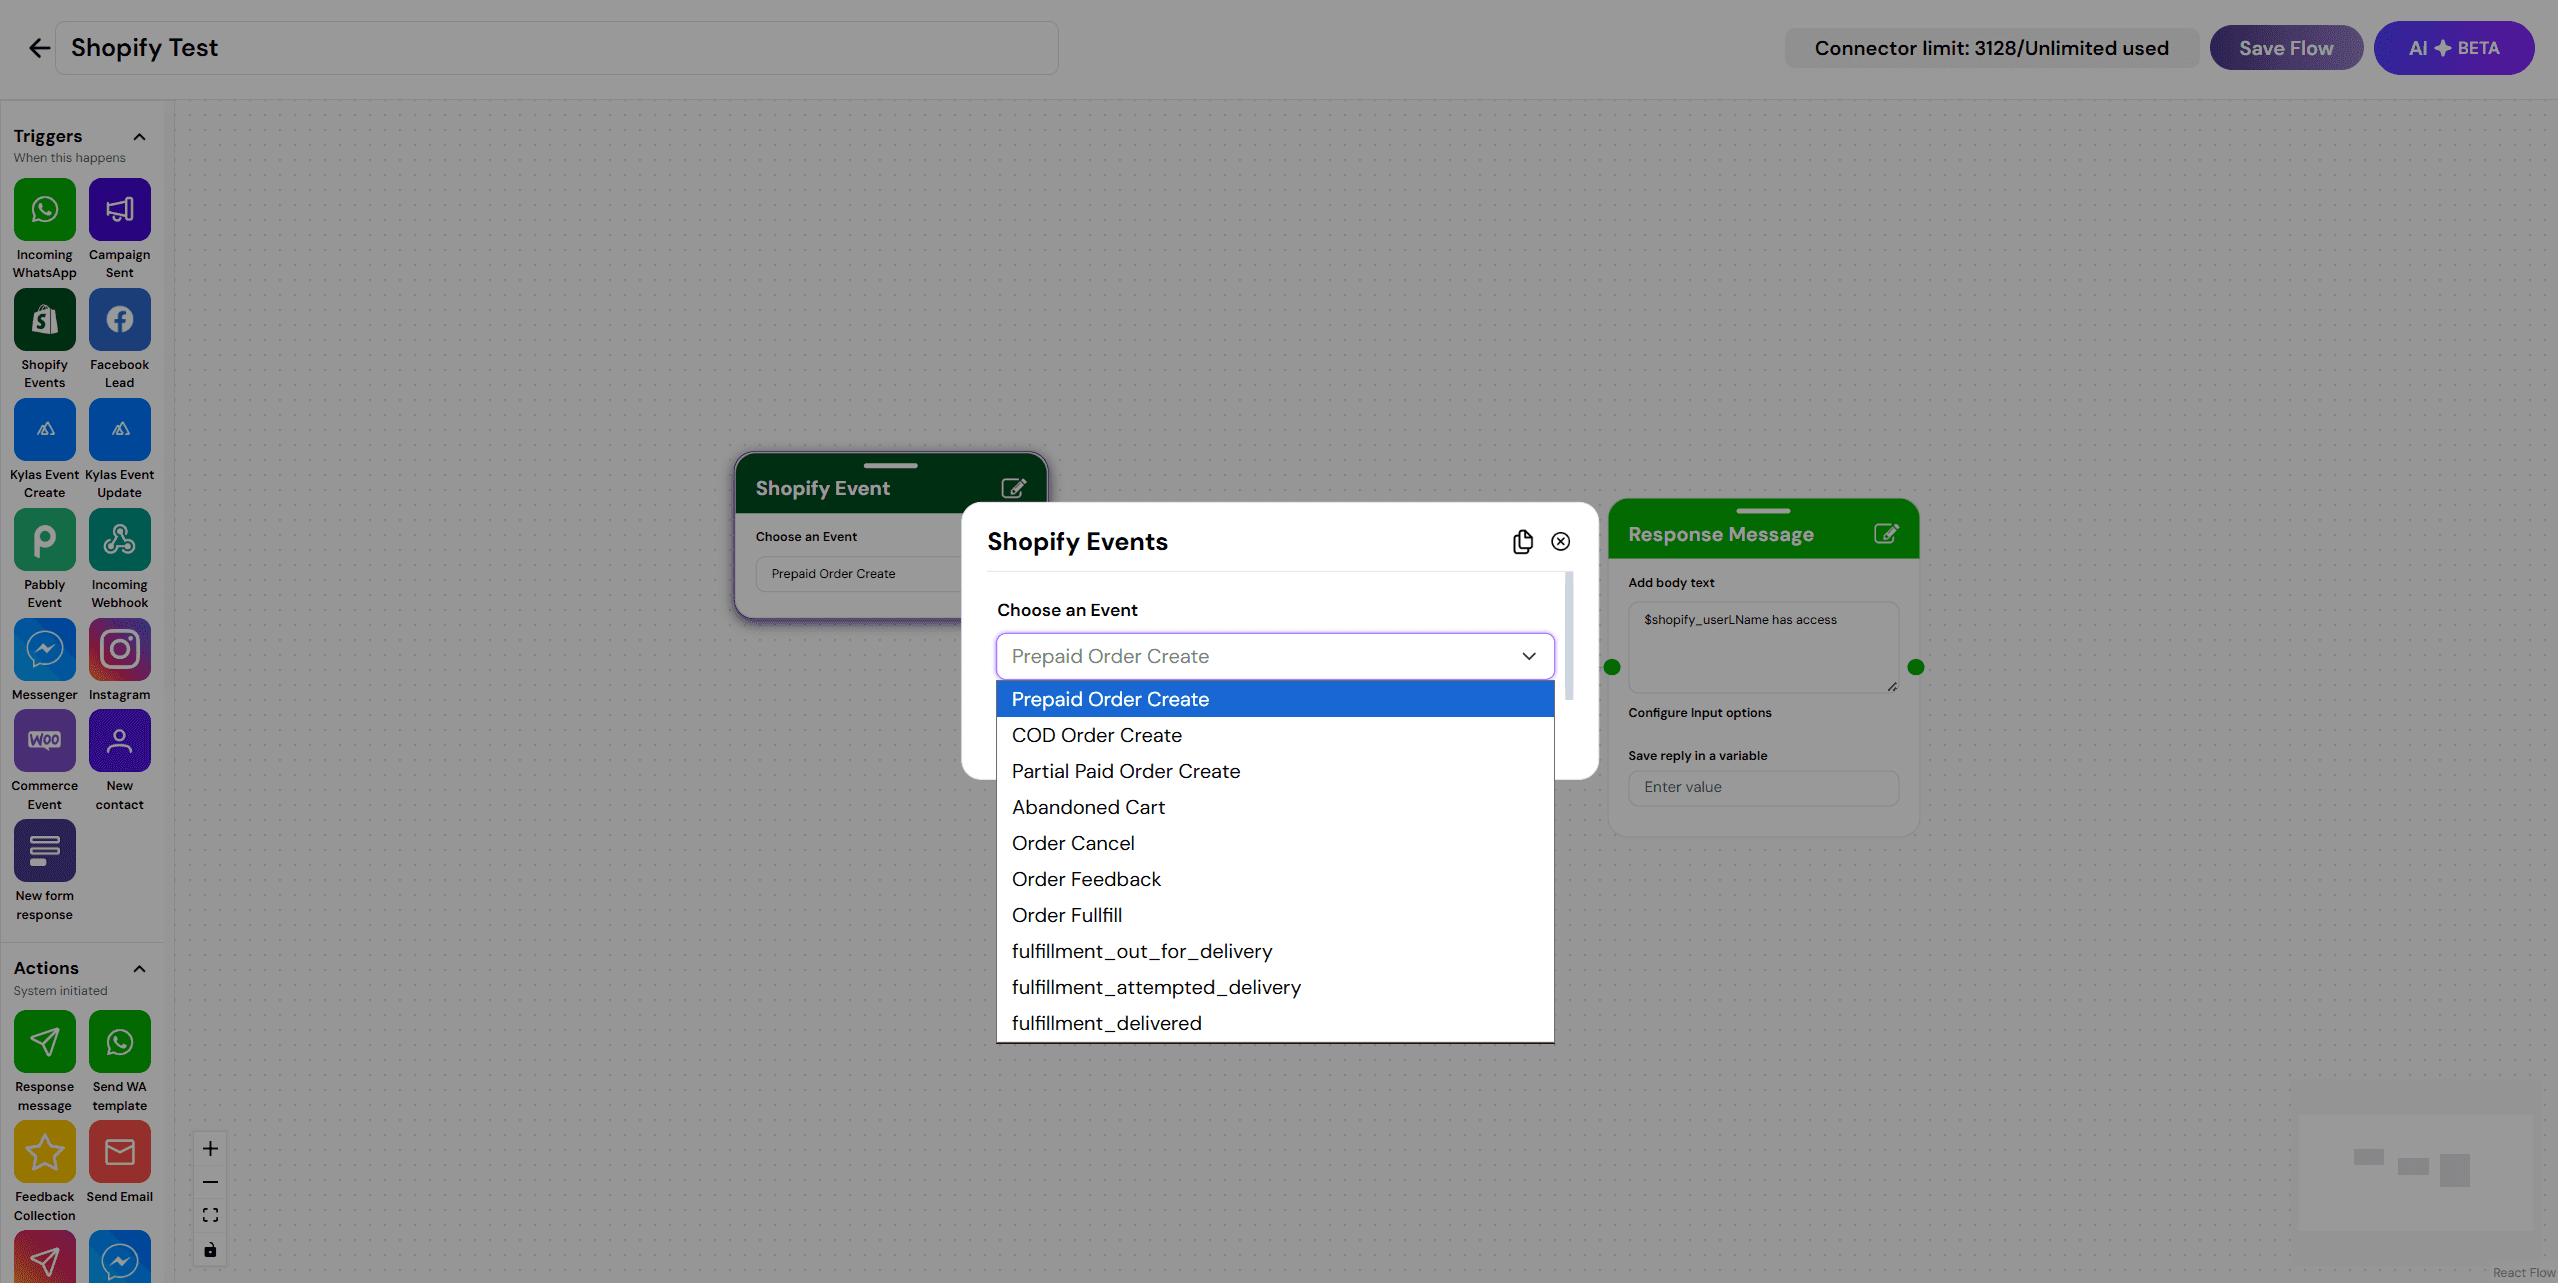
Cheerio provides multiple Shopify trigger events.
Examples mentioned in the Loom include:
Prepaid order created
COD order created
Abandoned cart
Order fulfillment / out for delivery
Pick the event that matches the workflow you want to automate.
4. Select a WhatsApp template and map Shopify variables
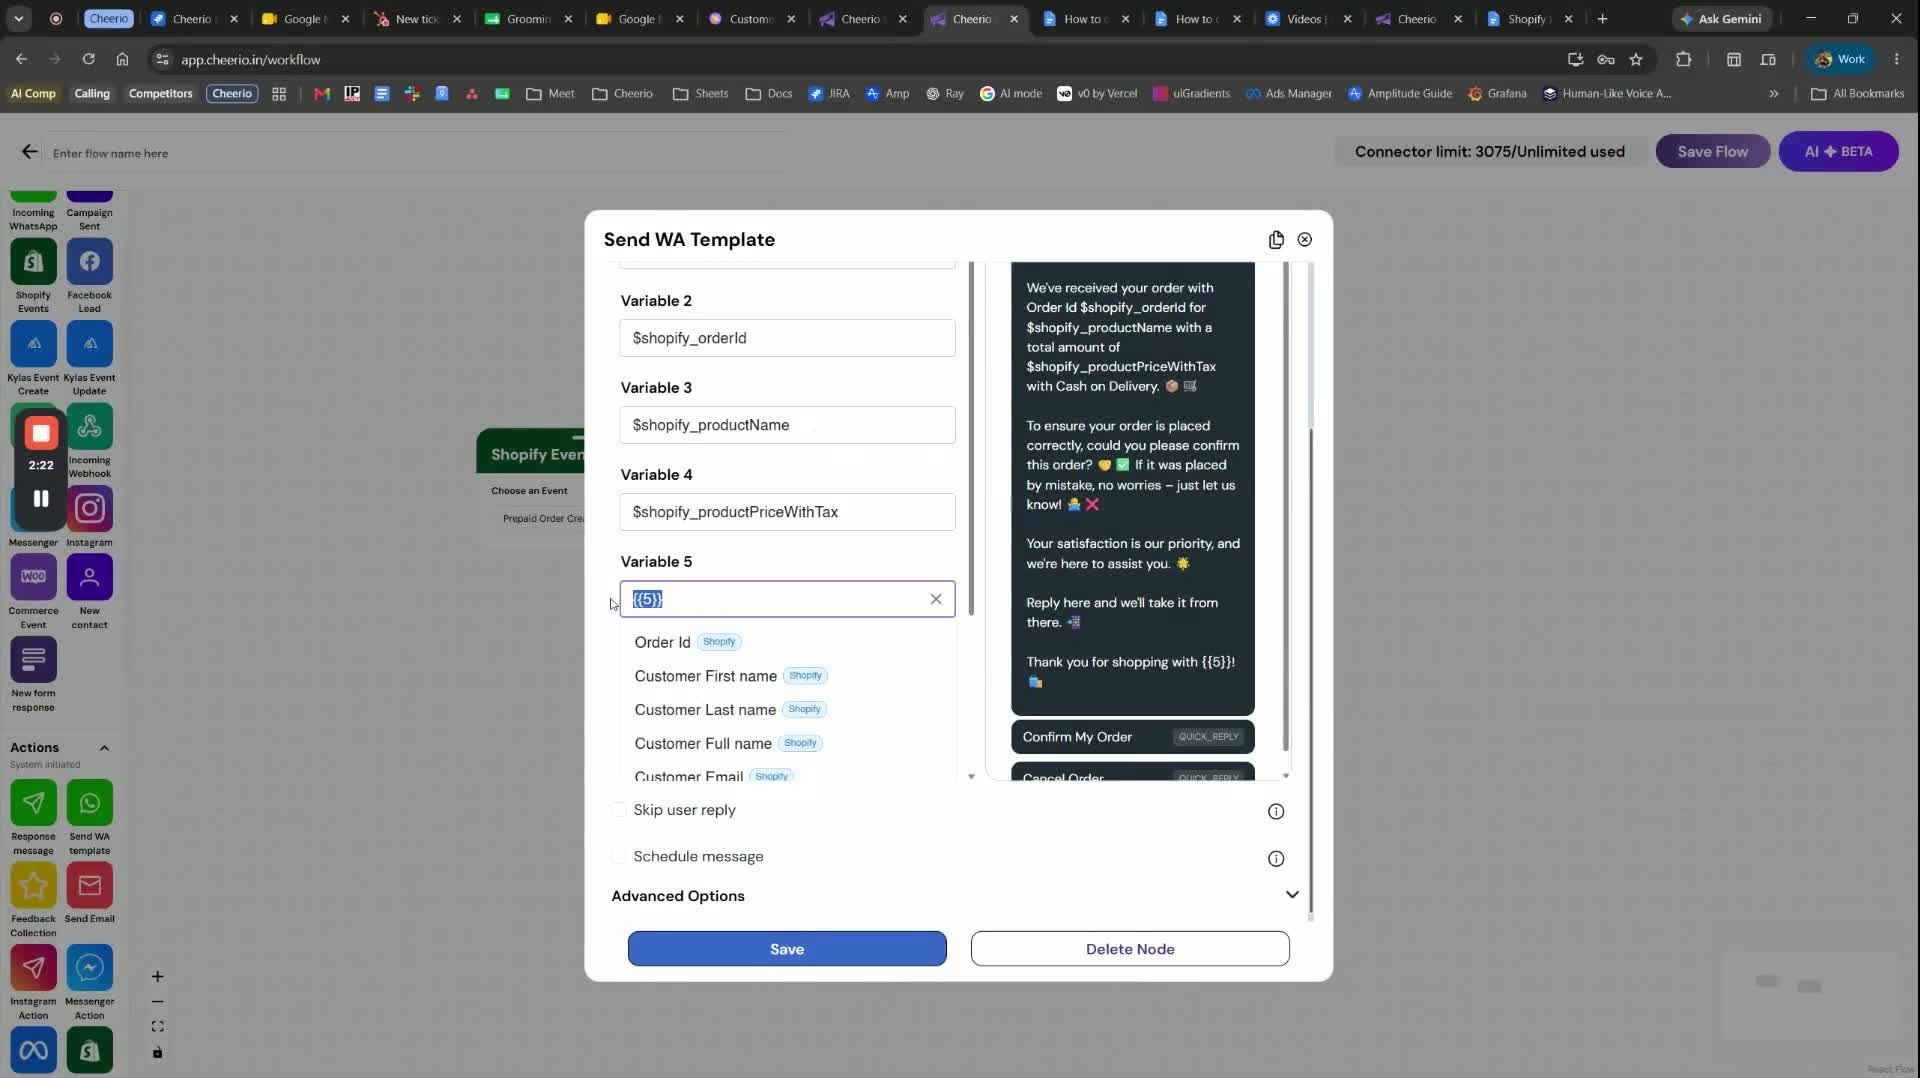
After choosing a trigger, select the WhatsApp template you want to send.
Cheerio shows Shopify-related attributes you can insert into the message.
Common variables used in the example:
Customer name
Order ID
Total amount / total price
Product names
Store or brand name
Replace the template placeholders with the relevant Shopify data fields from the dropdown.
5. Save the order confirmation workflow

The example shows a confirmation-style message being customized.
The brand name was set to GEO in the demo.
Once the message content and variables are filled in, click Save.
This creates your first Shopify workflow.
6. Build abandoned cart drip sequences
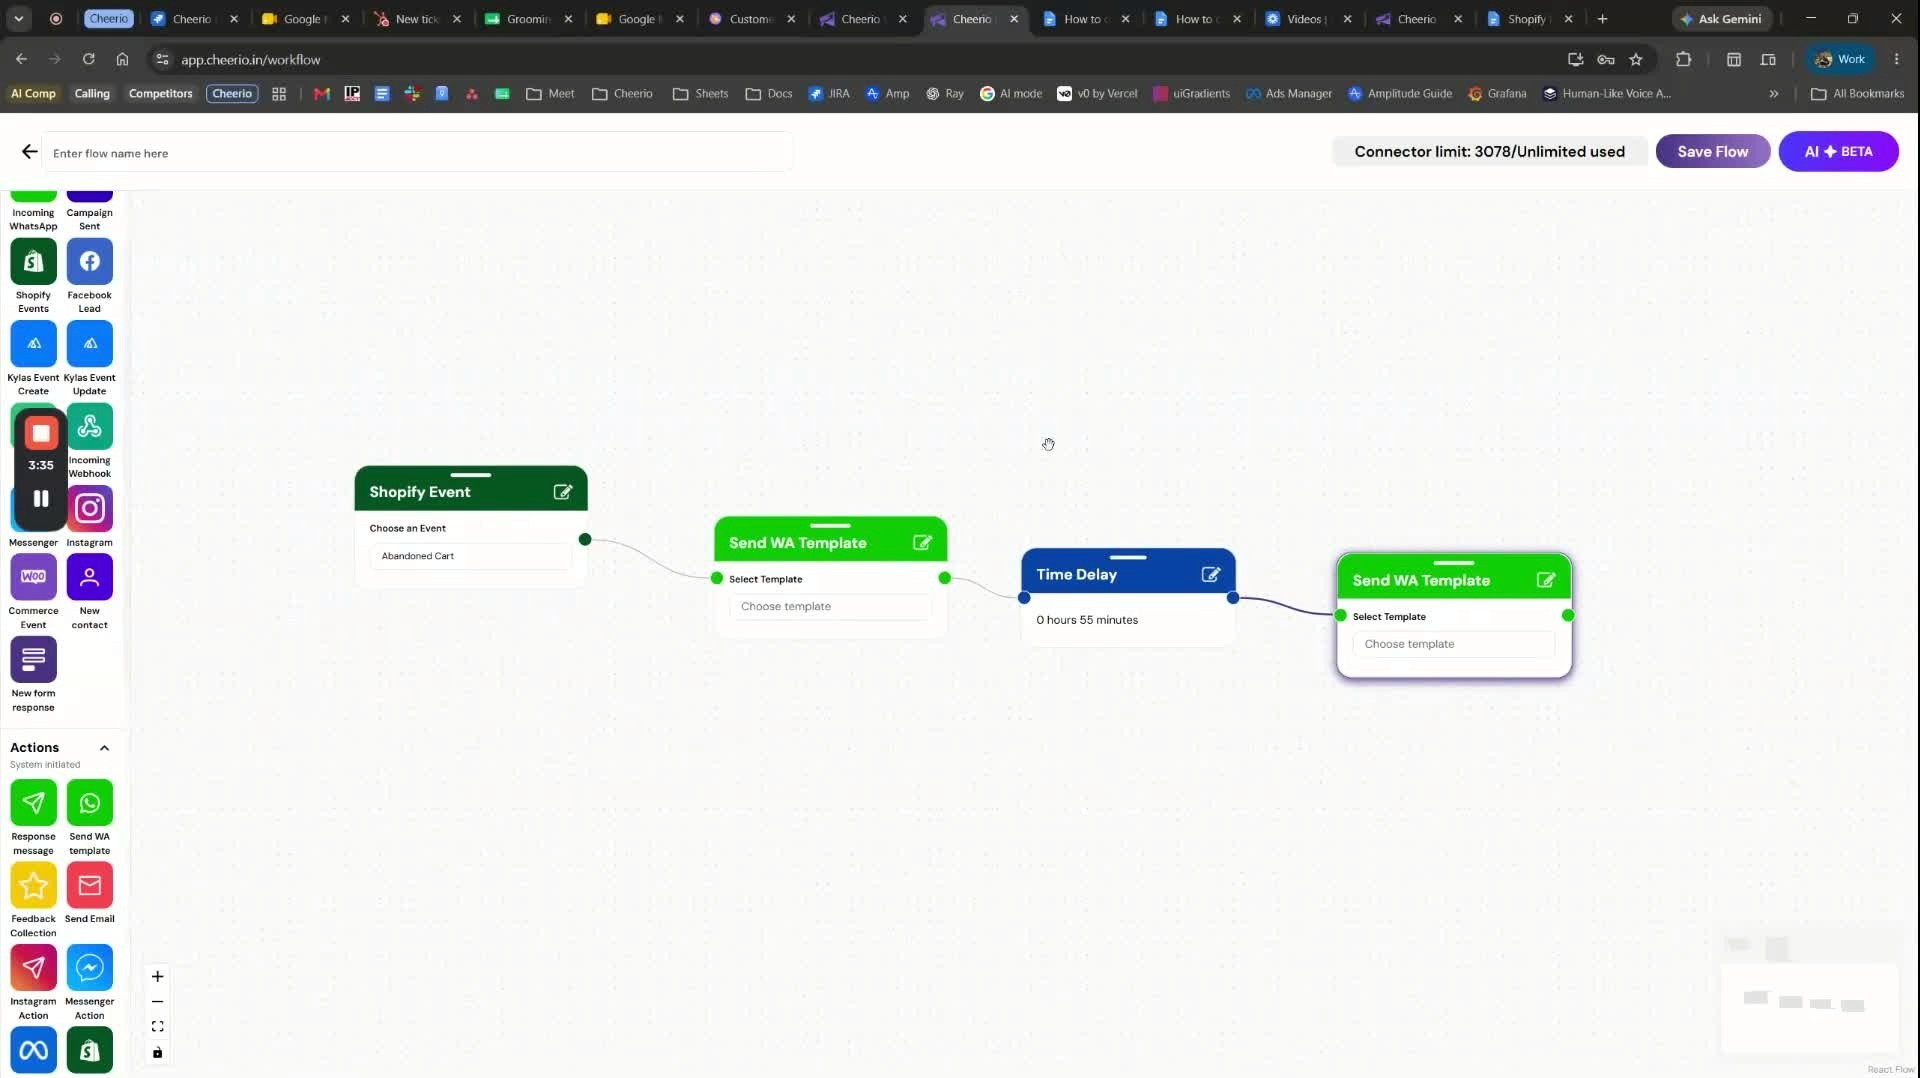
You can create additional workflows for abandoned carts.
Example flow:
Send a WhatsApp template when the cart is abandoned.
Wait 55–60 minutes.
Send a follow-up WhatsApp template if the customer still hasn’t returned.
These can be chained into a drip sequence for better recovery.
7. Create fulfillment and delivery update workflows
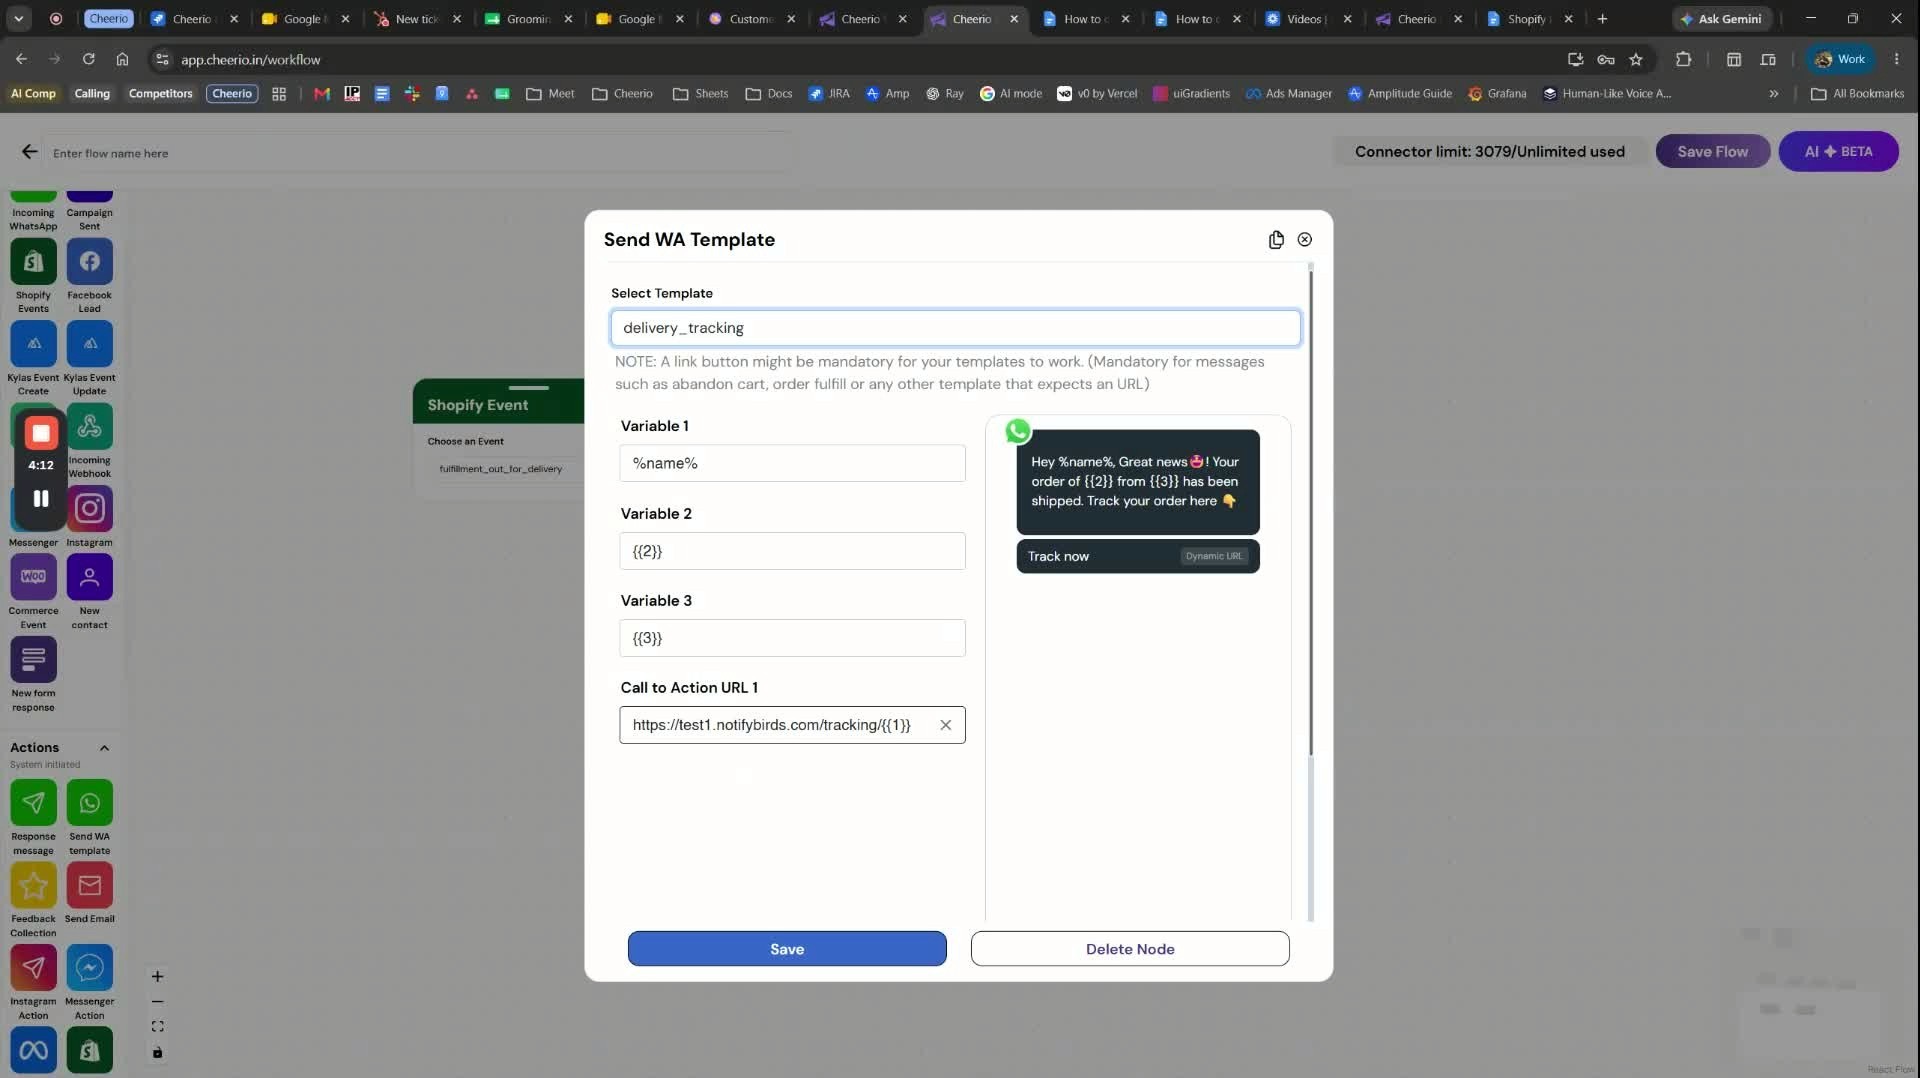
Shopify fulfillment events can also trigger workflows.
Example shown: Out for Delivery.
Use a template such as Delivery Tracking to notify the customer.
This is useful for sending tracking or shipping updates automatically.
8. Add fulfillment details and save the flow
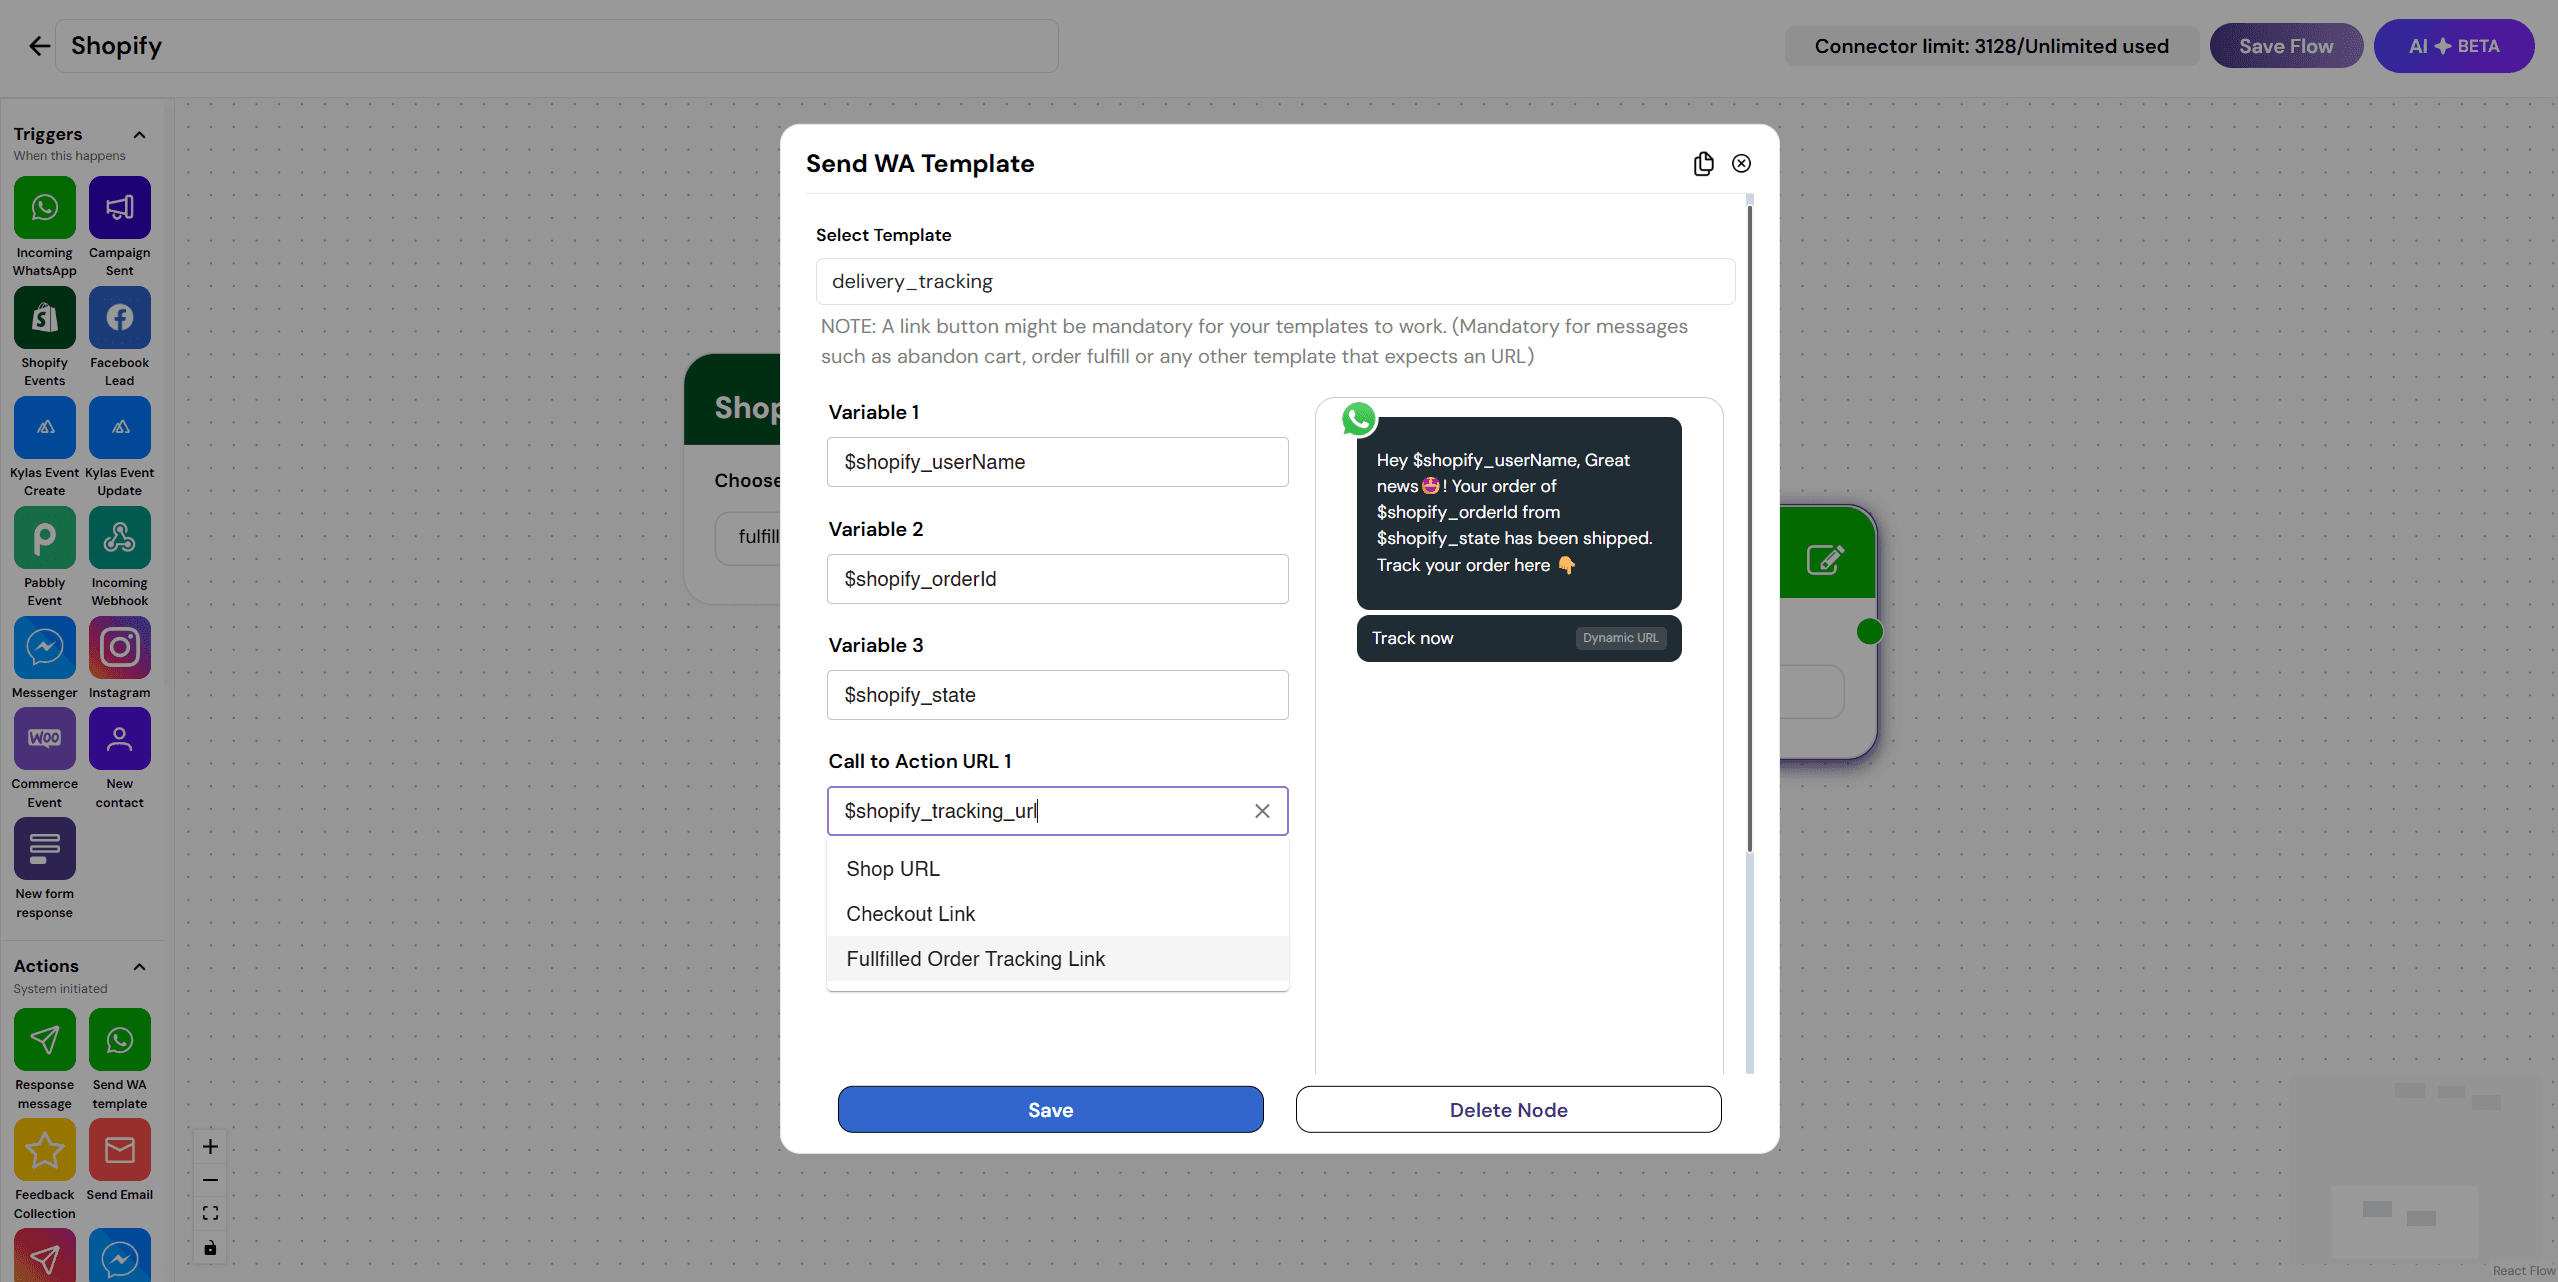
Insert the relevant Shopify variables into the message, such as:
Customer name
Order ID
Tracking or delivery-related details
You can also configure links like:
Shop URL
Checkout link
Name the flow (the demo uses Shopify) and click Save Flow.

After saving, go back to the workflows list.
Your new Shopify flow will appear there.
Toggle it on to activate it.
Once enabled, the workflow is live and ready to run for Shopify events.


